Travis CIみたいなGitHub連携アプリってどうやって作るんだ
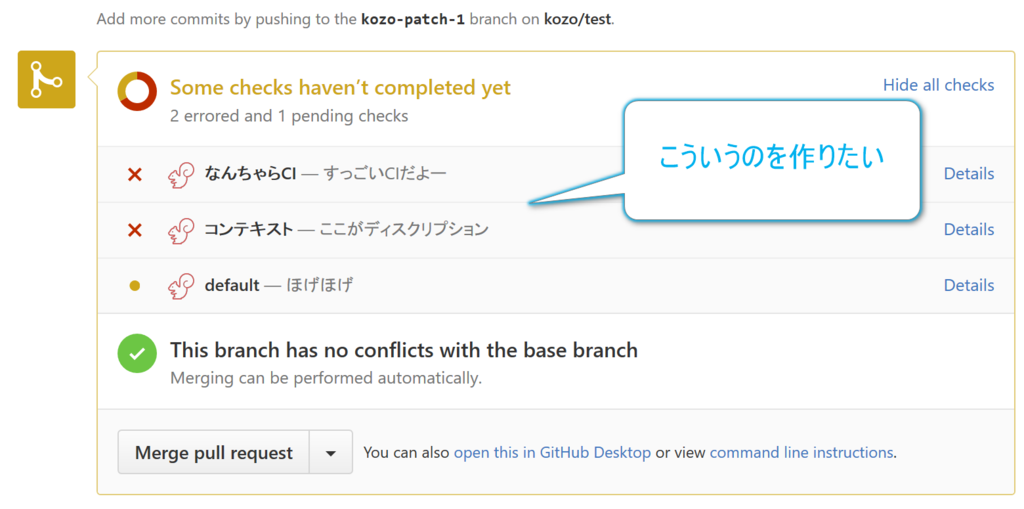
GitHubで使われている Travis CI のような連携アプリを作りたい!
と思いついたので、まずはステータスを切り替えれるようにするところまで進んでみる。
※セキュリティとか置いておいて、まずは必要最低限まで

アプリケーション作成
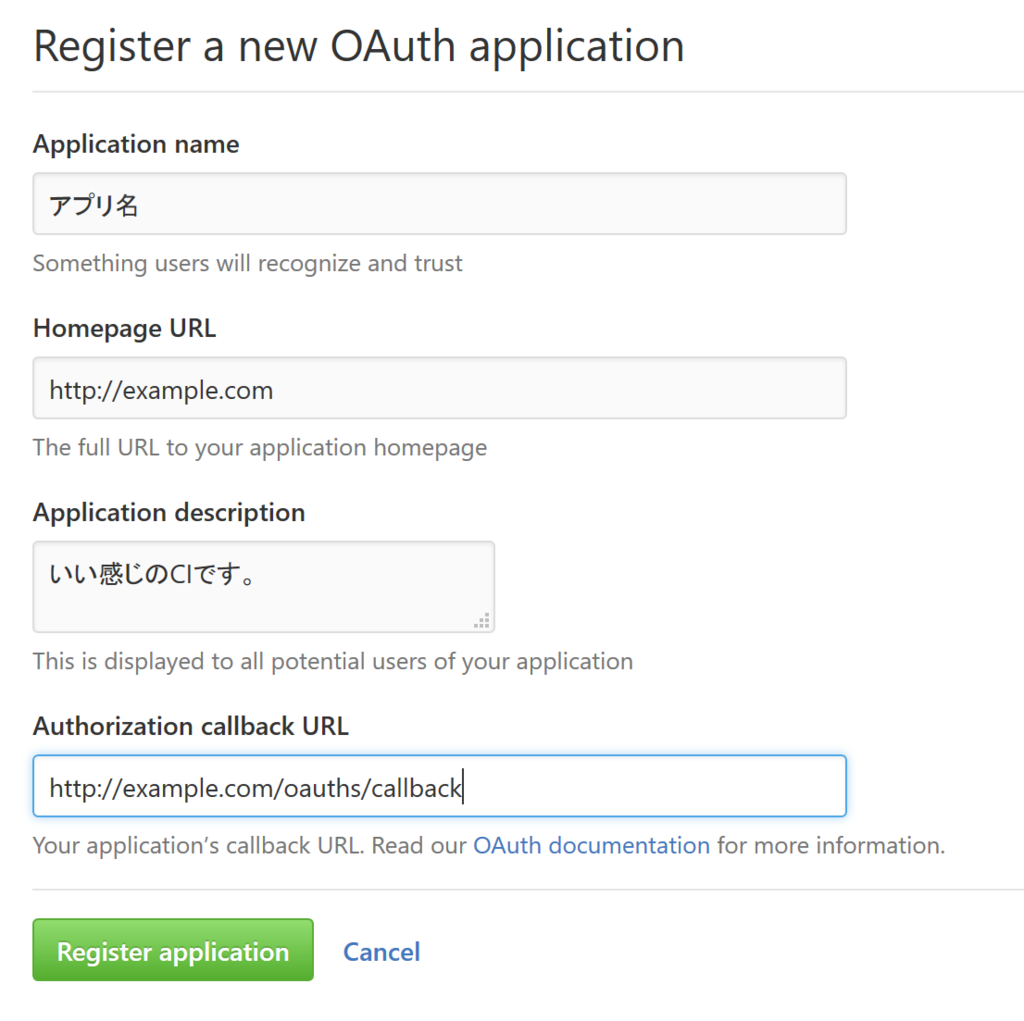
以下の順番でアプリケーション作成画面まで進む。
[GitHub] - [Settings] - [OAuth applications] - [Register a new application]
進めたらアプリケーション作成


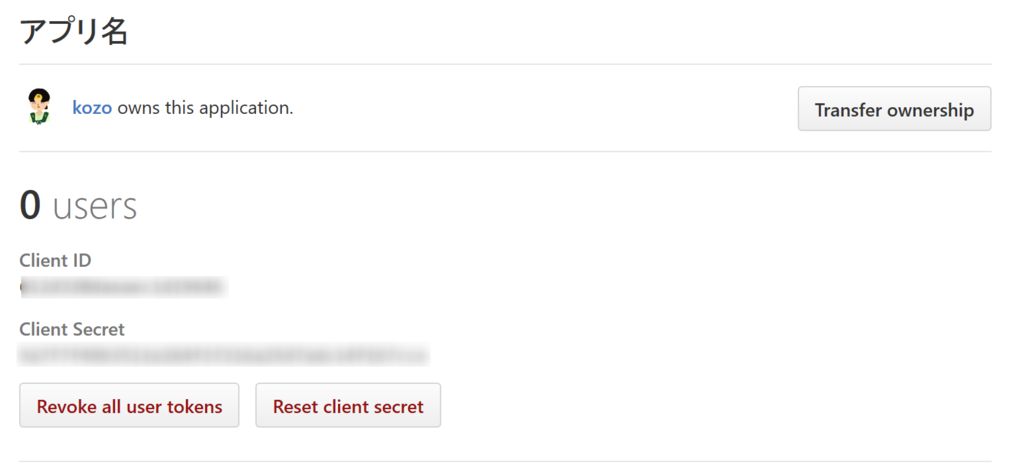
callback URL Client ID Client Secret をメモっておきます。
OAuth認証
まず、GitHubにアクセス
Client ID には先ほどメモっておいたものを使います。
https://github.com/login/oauth/authorize?client_id={Client ID}&scope=repo:status
認証を行うと callback URL に設定したURLに code が戻ってきます。
http://example.com/oauths/callback?code={コード}
次に コード を利用して、アクセストークンを取得します。
取得した、 コード Client ID Client Secret を利用します。
https://github.com/login/oauth/access_token?code={コード}&client_id={Client ID}&client_secret={Client Secret}
GitHubステータス変更
以下のAPIを実行して対象プルリクエストの head => sha を取得する
https://api.github.com/repos/:owner/:repo/pulls

- :owner => GitHubユーザー
- :repo => リポジトリ
以下のURLに対して必要な情報をPOSTします。
https://api.github.com/repos/:owner/:repo/statuses/:sha

- :owner => githubユーザー
- :repo => リポジトリ名
- :sha => pullsで取得した sha
POST値
JSONで以下の内容をPOSTする
- state : pending, success, error, failure のいづれか
- target_url : 詳細ページへのリンク
- description : 説明
- context : 見出し
その他
アクセストークンの使い方
Authorization: token {アクセストークン} の形でヘッダーに組み込む
or
?access_token={アクセストークン} の形でGET値のパラメーター組み込む
UserAgentが必須である
ヘッダーにユーザーエージェントとして、 アプリ名 を指定する
とりあえず、ここまで
次はhook処理